 Axioo are rocking yet another 64bit smartphone model for their line-up with this Venge model that using mediatek mt6735 64bit processors, 3Gb ram, Mali T720 gpu with 720×1280 screen resolution, dual simcard and of course with 4G LTE support.
This is a custom recoveries I made for this axioo venge model, but before we continue, since not all users came here so often, let me explain first, what is custom recovery and why do we need a custom recovery.
With stock recovery, our options are limited because stock recovery is meant to become a recovery mode for the manufacturer to install factory ota updates and factory resetting the device. Using custom recovery, it allows you to do many things like perform several advanced recovery, restoration, installation and maintenance operations on your Android device that aren’t possible with the stock recovery, and is one of the most common ways used to gain root access, back up device data, install a custom ROMs, kernels, themes, mods and more.
There are several custom recovery out there, but the 2 most famous is CWM (clockworkmod by koush) which now become CyanogenMod Recovery (CMR) and the other is TWRP (Team Win Recovery Project). Another custom recovery which also popular lately is Carliv and PhilZ which offer many features and possibilities to port the recovery into many chipset like mediatek and spreadtrum.
Which one is better? I can say all of those project are very good, they all have pro and cons. You may visit their site to look and learn their feature and limitation, don’t forget to say thanks if you use them because it means a lot for them even if you cannot donate.
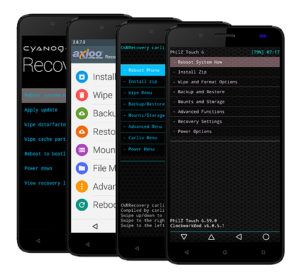
I think is enough, let’s continue with the real thing, here below I create four of them for you to choose, use anyone you like. Why so many variant ? well … first, because I can 🙂 and second, because it’s fun.
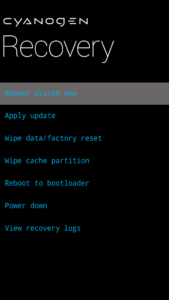
CMR :
Download : recovery-cm12-venge.img
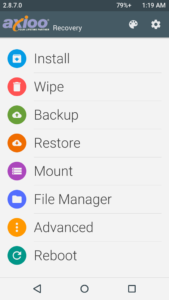
TWRP :
Download : recovery-twrp-venge.img
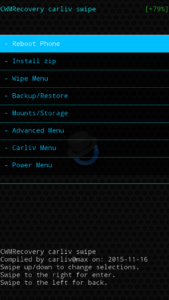
Carliv :
Download : recovery-carliv-venge.img
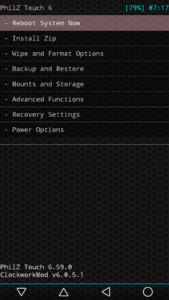
PhilZ :
Download : recovery-philz-venge.img
Notes :
Touchscreen is not working on twrp recovery due to touch panel driver goodix gt9xx that cannot load by kernel for some reason -> cat /proc/gt9xx_config. I suspect this somewhat related with hotknot feature by mtk, I cannot fix it and I raise my hand, if some of you had some clue, please let me know and thanks in advance. However, you still can use usb-otg mouse on the recovery to choose the items.
HOW TO INSTALL :
To install this custom recovery, you need SPFlashTool program which only available on winblows os platform so … really sorry, I cannot support it because I never use and don’t have winblows. You may refer to this tutorial : MT65xx Flashing Tutorial it is very well explained by Bruno Martin.
Please be really careful using SPFlashTool, especially when flashing ROM not for your device, since it may bricked your device forever.
Scatter file you might need : MT6735M_Venge_Android_scatter_emmc
Of course you also can flash this custom recovery using specific apk such as mobileuncle tool or recovery tool, but I’m not explain this here and now since the purpose I’m creating this custom recovery is to get root from secured stock rom.
all recovery tools writer needs root which you don’t have unless you flash this custom recovery first 🙂 another chicken and eggs problem.
HOW TO REBOOT INTO CUSTOM RECOVERY :
To enter the custom recovery mode is pretty easy on this model, just completely power off the device until you feel the device vibrate, indicating it was totally shutdown. Then, hold down Volume Up button then press Power button, hold them both until you see 3 menu list appear, Recovery, Fastboot and Reboot.
Scroll or choose between item using Vol up button and select them using Vol down button. On this case, choose Recovery and press Vol down button, wait a sec or two … then you’ll be entering recovery mode. There are also many apk on playstore such as Quickboot, RecoveryTool, … etc, that can do reboot into recovery directly from alive system, use any one you like.
HOW TO ROOT :
After installing this custom recovery, you can install root and Superuser as usual, I recommend to use latest chainfire SuperSU
